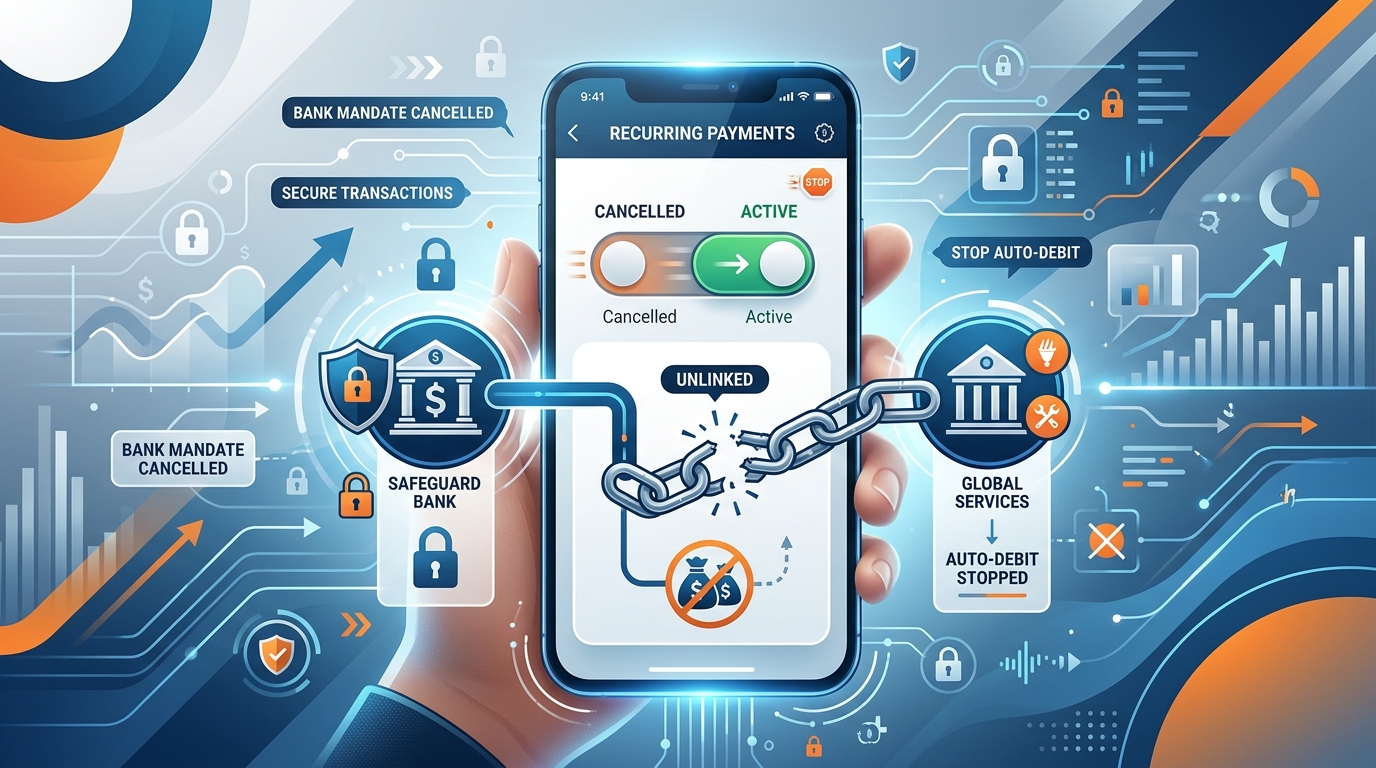
Are you seeing unexpected auto-debit deductions from your SBI account for a loan you already closed, or a subscription you no longer use?
Under the NPCI network, companies use e-mandates and NACH approvals to automatically deduct EMIs, insurance premiums, and investment deposits directly from your savings account.
However, if a merchant continues to charge you illegally, or if you foreclosure a personal loan, leaving the mandate active can lead to recurring failed transaction fees (₹295 to ₹440 per bounce).
Knowing how to cancel e-mandate in SBI net banking online is critical to securing your hard-earned savings and avoiding unnecessary bounce charges.
In this guide, we provide step-by-step methods to cancel mandates using SBI Online Net Banking, stop auto-debits inside the Yono SBI App, and revoke recurring debit card links.
What is an E-Mandate or NACH Mandate in SBI?
An e-mandate is a digital consent form you sign (using net banking or a debit card) that authorizes a specific merchant to pull a fixed amount of money from your account at scheduled intervals.
Every mandate generated on the NPCI network is registered under a **Unique Mandate Reference Number (UMRN)**.
To stop the auto-debit, you must send a request to cancel this UMRN link, which can be done digitally through your bank account dashboard.
Method 1: Cancel E-Mandate via SBI Net Banking (Step-by-Step)
If you have access to SBI Retail Net Banking, follow this direct process to revoke active mandates:
- Visit the official SBI online portal at onlinesbi.sbi and log in using your username, password, and SMS OTP.
- On the main dashboard, go to the top navigation bar and click on **”Request & Enquiries”**.
- Select **”Manage E-Mandate”** (or *E-Mandate / Standing Instructions*).
- Select your savings account number and click **Proceed**.
- A list of all active, pending, and expired e-mandates registered to your account will appear.
- Locate the target merchant mandate you want to stop and select **”Cancel Mandate”**.
- Confirm the cancellation details, enter the OTP sent to your registered mobile number, and submit.
Once submitted, the bank will process the request and update the status to “Cancelled” within 24 to 48 hours.
Method 2: Stop Auto Debit inside Yono SBI App
If you prefer using your smartphone, you can revoke mandates using the official Yono SBI mobile app:
- Open the **Yono SBI** application on your device and log in using your MPIN or biometric credentials.
- Scroll down the home menu and tap on **”Service Request”** (located under the quick links section).
- Tap on **”Account”** or **”Standing Instructions”**.
- Select the option labeled **”Manage Mandates / E-Mandate”**.
- Select the active mandate you wish to stop from the list of registered services.
- Tap on **”Revoke / Cancel”** at the bottom of the screen.
- Verify the details and complete the confirmation by inputting the OTP sent to your mobile.
Method 3: Revoke Mandates via SBI Debit Card Recurring Portal
If you set up the recurring mandate on a merchant platform using your SBI Debit Card (rather than net banking), you must revoke it through the specialized merchant card control page:
- Go to the **SBI Card Consent / SI Hub** page (usually hosted via BillDesk or payment gateways at *sbi.co.in/web/personal-banking/cards/debit-card/si-hub*).
- Enter your SBI Debit Card details and complete the OTP login verification.
- The portal will display all merchants linked to your debit card for recurring billing (e.g., Netflix, LIC, hotstar).
- Select the merchant and click **”Cancel / Delete Subscription”**.
Processing Fees and Timelines for SBI Mandate Cancellation
Keeping track of charges and timelines will help you avoid unexpected billing loops:
- Cancellation Fees: The State Bank of India does not charge any fees for canceling an active e-mandate online.
- Processing Time: It typically takes **24 to 72 business hours** for the cancellation request to sync across the NPCI database and block the merchant’s access.
- Safety Window: To prevent a deduction, ensure you submit your cancellation request at least **3 business days before the next scheduled payment date**.
Frequently Asked Questions (FAQ)
How do I stop auto debit in SBI online?
You can stop auto-debits by logging into SBI Net Banking, going to ‘Request & Enquiries’ > ‘Manage E-Mandate,’ selecting the active merchant, and clicking cancel. Confirm the request using your mobile OTP.
What is UMRN in SBI bank account details?
UMRN stands for **Unique Mandate Reference Number**, which is a 20-digit alphanumeric code generated by the NPCI to identify every registered auto-debit consent in Indian banks.
Can a bank charge me if my auto debit bounces?
Yes. If a merchant attempts to debit money via NACH/ECS and your SBI account has insufficient balance, SBI will charge an ECS bounce penalty fee of ₹250 (plus GST) per failed attempt.
How long does it take for SBI to cancel a NACH mandate?
Once submitted through net banking or Yono, it takes 1 to 3 working days to cancel the NACH mandate registration completely across the NPCI rails.
Can I stop loan EMIs by canceling my SBI e-mandate?
You should only cancel a loan e-mandate after obtaining a No Objection Certificate (NOC) or clearing all dues. If you cancel an active loan mandate without lender approval, the lender can take legal action for non-payment.
Conclusion
Securing your bank account from unauthorized auto-debits is essential to maintain clean financial health.
By using SBI Net Banking, the Yono App, or the SI Hub debit card portal, you can easily trace and cancel unwanted e-mandates online.
Remember to submit your requests well ahead of payment cycles to avoid automated bank bounce penalties. Share this guide with fellow SBI cardholders to help them manage their auto-debits securely!